
You can add images to your content using the WYSIWYG (What You See Is What You Get) editor.
- Click in the editor in the spot where you want to put the image, and then click the image button in the editor toolbar.
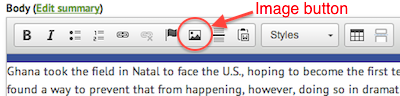 Image button
 - In the "Image Properties" dialog box that pops up, click the "Browse server" button.
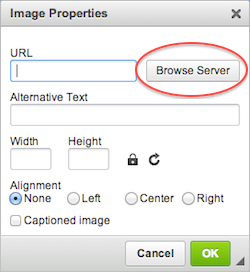 "Image Properties" dialog box
 - That will pop open a new "File browser" browser window.
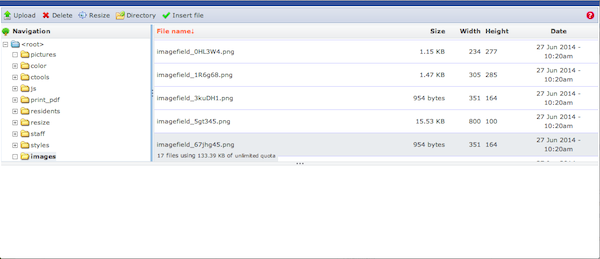 "File Browser" window
 - In the new window, you can click on the folder names on the left under "Navigation" to view the existing directories and images on the site.
- Choose and existing directory or create a new directory using the "Directory" button.
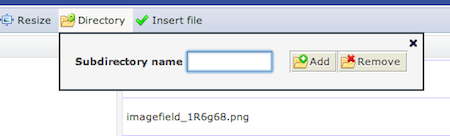 Add/remove directory
 - To upload a new image, click the "Upload" button, choose the image on your system, and click "Upload". The image will appear in the bottom pane.
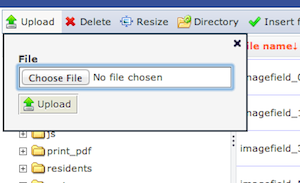 Upload image
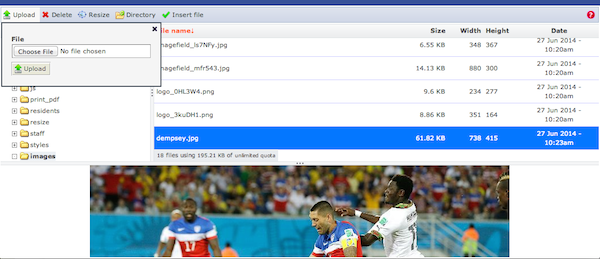 Upload image complete
 - To use an existing image click on the image name in the "File name" pane on the top-right. The image will appear in the bottom pane.
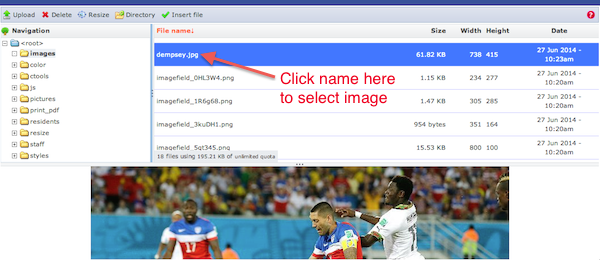 Select image
 - When the image appears in the bottom pane, click on it there to insert it into your page. The "File browser" window will close.
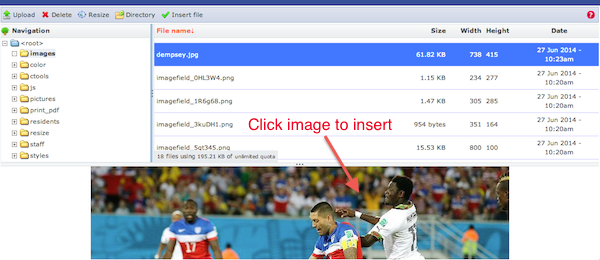 Insert image
 - Back in the "Image Properties" dialog, you can set the alignment and check the "Captioned image" box to add a caption.
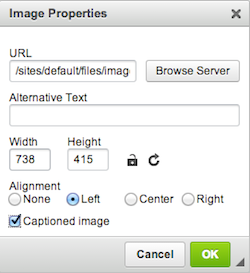 "Image Properties" dialog box - After
 - Click "OK" to add the image to the body of the page.
- You can then drag the lower-right corner of the image to resize it as desired.
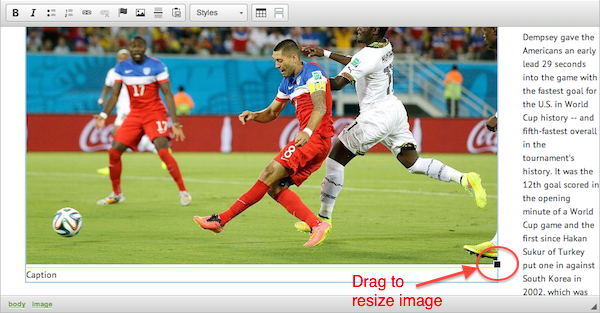 Resize image
 Inserted and resized image
 - Finish editing the page and save it.
 Final content with image